Step-by-Step Guide to Dual Booting Windows 11 and Ubuntu Linux
Install Ubuntu alongside Windows 11 safely with this practical dual-boot guide. Learn how to prepare your PC, create a bootable USB, partition storage, configure GRUB, and fix common startup issues.
 ATH Team
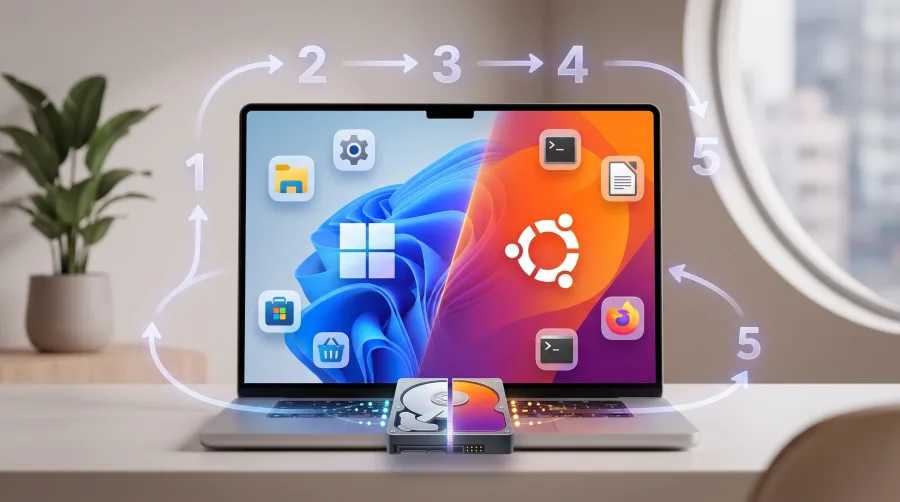
Want Windows 11 and Ubuntu Linux on the same computer? A dual-boot setup lets you choose your operating system every time the PC starts. Windows remains available for gaming and Microsoft apps, while Ubuntu gives you a fast, flexible Linux desktop for development, privacy, and everyday work.
This Tested & 100% Working guide explains the complete process, including backup steps, UEFI settings, storage allocation, Ubuntu installation, and common fixes. Competitor tutorials often skip BitLocker, Fast Startup, recovery planning, and boot repair, so this walkthrough covers those problem areas before they cause trouble.
What You Need Before Dual Booting Windows 11 and Ubuntu
- A Windows 11 PC with at least 8 GB RAM and 50 GB of free storage for Ubuntu.
- An 8 GB or larger USB flash drive. The drive will be erased.
- A stable internet connection for Ubuntu updates and optional third-party drivers.
- A backup of personal files stored on an external drive or cloud service.
- The official Ubuntu ISO and a tool such as Rufus.
| Setting | Recommended choice |
|---|---|
| Firmware mode | UEFI |
| Partition style | GPT |
| Ubuntu storage | 50 GB minimum, 80 GB or more preferred |
| Secure Boot | Leave enabled unless a driver requires otherwise |
Step 1: Back Up Windows 11 and Check BitLocker
Copy documents, photos, game saves, and other important files to a separate device. Partition changes are normally safe, but a power failure or incorrect selection can damage data.
Open Settings > Privacy & security > Device encryption or search for Manage BitLocker. If BitLocker is active, save the recovery key to your Microsoft account or another secure location. Suspend BitLocker before resizing the Windows partition, then resume it after Ubuntu is working.
Step 2: Disable Fast Startup and Free Disk Space
Fast Startup can leave Windows partitions partially hibernated, causing Linux to report them as locked. Open Control Panel, select Power Options > Choose what the power buttons do, click Change settings that are currently unavailable, and uncheck Turn on fast startup.
Next, press Win + X, choose Disk Management, right-click the main Windows partition, and select Shrink Volume. Enter the amount to free for Ubuntu in megabytes. For example, 81920 MB creates roughly 80 GB. Leave this space as Unallocated; do not format it in Windows.
Step 3: Create a Bootable Ubuntu USB
Download the latest Ubuntu Desktop ISO from the official Ubuntu website. Install and open Rufus, insert the USB drive, and select these options:
- Boot selection: Ubuntu ISO
- Partition scheme: GPT
- Target system: UEFI
- File system: FAT32
Click Start, choose the recommended ISO mode if prompted, and wait for the process to finish. This USB is your Ubuntu installer and recovery tool.
Step 4: Boot From the Ubuntu USB
Restart the computer and repeatedly press the boot-menu key, commonly F12, F9, Esc, or F8. Select the entry labeled UEFI: your USB name. Choose Try or Install Ubuntu when the menu appears.
Run Ubuntu in live mode for a quick hardware check. Test Wi-Fi, sound, the keyboard, display resolution, and touchpad before installing. If everything works, double-click Install Ubuntu.
Step 5: Install Ubuntu Alongside Windows 11
- Choose your language, keyboard layout, and network connection.
- Select the normal installation option. Download updates and third-party software if your internet connection is reliable.
- At Installation type, choose Install Ubuntu alongside Windows Boot Manager.
- Use the storage slider to decide how much space Ubuntu receives, then continue.
- Confirm the partition changes only after checking that Windows remains listed and your unallocated space is being used.
- Select your time zone, create a username and strong password, and start the installation.
Ubuntu automatically creates the required Linux partitions and installs the GRUB bootloader in the existing EFI system partition. When prompted, remove the USB drive and restart.
Step 6: Choose Windows 11 or Ubuntu at Startup
After rebooting, GRUB should display Ubuntu and Windows Boot Manager. Select an operating system with the arrow keys and press Enter. Ubuntu normally becomes the default choice, but you can change it later through startup settings or GRUB configuration.
If Windows starts immediately, enter your firmware settings and verify that ubuntu appears before Windows Boot Manager in the UEFI boot order.
Dual-Boot Troubleshooting Quick Fixes
- No Ubuntu option: Reboot into UEFI settings and move the Ubuntu entry above Windows Boot Manager.
- Windows partition is locked: Disable Fast Startup and fully shut down Windows with
shutdown /s /f /t 0. - Secure Boot error: Keep Secure Boot enabled where possible. If a proprietary driver fails, temporarily disable it in UEFI and install the correct signed driver.
- Ubuntu has no Wi-Fi: Connect by Ethernet or USB tethering, open Software & Updates > Additional Drivers, and install the recommended driver.
- GRUB disappeared: Boot the Ubuntu USB, choose Try Ubuntu, and use Boot-Repair or reinstall the GRUB EFI entry. Avoid randomly deleting EFI files.
Frequently Asked Questions
Can I dual boot Ubuntu without deleting Windows 11?
Yes. Shrink the Windows partition and install Ubuntu in the unallocated space. Always create a backup before changing partitions.
How much storage should Ubuntu get?
Use 50 GB at minimum. Around 80 GB gives you comfortable room for updates, applications, and personal Linux files.
Will Windows updates remove Ubuntu?
Most updates do not, but major firmware changes can reset the boot order. If Ubuntu disappears, select the ubuntu UEFI entry again.
Final Tips for a Stable Dual-Boot PC
Keep Windows and Ubuntu updated, maintain your BitLocker recovery key, and never force-shut down while either system is writing data. With the correct UEFI and GPT setup, dual booting Windows 11 and Ubuntu is reliable, flexible, and easy to manage. Extract and Play applies to games, but here the rule is simple: back up first, follow each step carefully, and enjoy both operating systems without crash issues.

Comments (0)
No comments yet. Be the first to start the discussion!