Complete Guide to Setting Up Local PHP, MySQL, and Apache with XAMPP
Set up a complete local PHP development environment with XAMPP. Follow this practical guide to install Apache, MySQL, PHP, and phpMyAdmin, run your first project, fix common errors, and create a local database.
 ATH Team
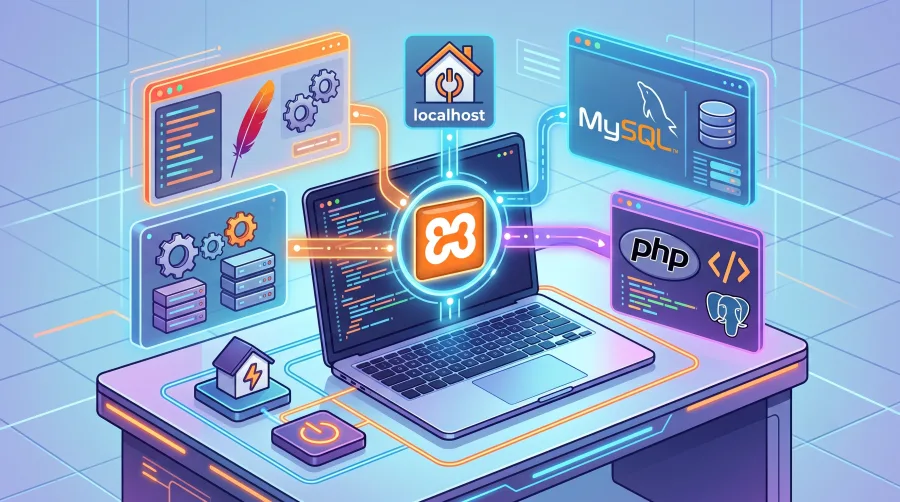
Want to build and test PHP websites without uploading files to a live server? XAMPP gives you a complete local development environment with Apache, PHP, MySQL, and phpMyAdmin in one package. This guide shows you how to install XAMPP, start the required services, create a local PHP project, connect it to MySQL, and fix the most common setup problems.
Many basic tutorials stop after showing the XAMPP control panel. This walkthrough goes further with database setup, port troubleshooting, folder permissions, virtual host basics, and practical security advice. Follow our simple step-by-step guide and you will have a working localhost environment ready for development.
What Is XAMPP and What Does It Install?
XAMPP is a free local server package maintained by Apache Friends. Its core components are:
- Apache: The web server that delivers your PHP pages through a browser.
- PHP: The programming language used to process dynamic web applications.
- MariaDB/MySQL: The database server used to store application data.
- phpMyAdmin: A browser-based tool for creating and managing databases.
Download XAMPP only from the official Apache Friends website. Choose the current version for Windows, macOS, or Linux, then run the installer with administrator privileges where required.
Step 1: Install XAMPP on Your Computer
- Launch the XAMPP installer and allow it to make changes to your device.
- Keep Apache, MySQL, PHP, phpMyAdmin, and the XAMPP Control Panel selected. You can skip optional tools you do not need.
- Install XAMPP in the default folder, such as
C:\xamppon Windows. Avoid protected folders if your operating system blocks file changes. - Finish the installation and open the XAMPP Control Panel.
On macOS and Linux, the application names and service controls look slightly different, but the local web root still uses an htdocs folder in the XAMPP installation directory.
Step 2: Start Apache and MySQL
In the XAMPP Control Panel, click Start beside Apache and MySQL. A green highlight or running status confirms that each service is active. Apache handles your PHP files, while MySQL stores your database records.
Open your browser and visit http://localhost/. If the XAMPP dashboard appears, Apache is working. Next, open http://localhost/phpmyadmin/ to confirm that phpMyAdmin can access the database service.
Step 3: Create and Run Your First PHP Project
Every website placed inside the XAMPP web root can be opened through localhost. On Windows, create a project folder here:
C:\xampp\htdocs\my-siteCreate a file named index.php inside that folder and add this test code:
<?php
$name = "AllTypeHacks";
echo "Hello from $name!";
?>
Save the file, then visit http://localhost/my-site/. The browser should display the message. If you see the PHP code instead, you are probably opening the file directly instead of using the localhost address, or Apache is not running.
Step 4: Create a MySQL Database with phpMyAdmin
- Open
http://localhost/phpmyadmin/. - Select New from the left sidebar.
- Enter a database name such as
demo_app. - Choose
utf8mb4_general_cior another suitable UTF-8 collation. - Click Create.
For local XAMPP installations, the default MySQL username is commonly root, and the password may be blank. This is convenient for testing, but never copy those credentials into a public server.
Step 5: Connect PHP to MySQL
Create db-test.php inside your project folder. The following example uses MySQLi and checks the connection clearly:
<?php
$connection = new mysqli("127.0.0.1", "root", "", "demo_app");

if ($connection->connect_error) {
    die("Database connection failed: " . $connection->connect_error);
}

echo "MySQL connection successful!";
?>
Open http://localhost/my-site/db-test.php. A success message confirms that PHP, Apache, and MySQL are communicating correctly.
Fix Common XAMPP Errors
Apache will not start
Port 80 may already be used by IIS, Skype, Docker, or another web server. In the XAMPP Control Panel, click Config beside Apache, open httpd.conf, and change Listen 80 to Listen 8080. Also change the server name to localhost:8080. Then use http://localhost:8080/.
MySQL will not start
Another MySQL or MariaDB service may already occupy port 3306. Stop the competing service, or change the MySQL port in XAMPP and update your PHP connection code. Review the XAMPP logs before deleting any database files.
Access denied in phpMyAdmin
Check the username, password, and port in your PHP code. If you previously added a MySQL password, replace the blank password in the connection string. Do not repeatedly reset files without creating a backup first.
Pro Tips for a Safer Local Environment
- Keep projects inside
htdocsand use separate folders for each site. - Back up database exports from phpMyAdmin before major changes.
- Do not expose XAMPP to the public internet; it is designed mainly for local development.
- Use strong database passwords when testing login systems or sharing a development machine.
- Turn off Apache and MySQL when you are finished to reduce conflicts and resource usage.
Frequently Asked Questions
Is XAMPP free for PHP and MySQL development?
Yes. XAMPP is free to download and use for local development. Download it from the official Apache Friends website and scan third-party files before installation.
Where should I put PHP files in XAMPP?
Place them inside the htdocs folder or a subfolder such as htdocs/my-site. Open them through localhost rather than double-clicking the file.
Why does localhost show a port error?
Another application is likely using Apache's port. Change Apache to port 8080 and open http://localhost:8080/, or stop the conflicting service.
Final Verdict
XAMPP is one of the quickest ways to create a reliable local PHP, MySQL, and Apache workspace. Once Apache and MySQL run successfully, you can build WordPress sites, PHP applications, and database projects without touching a live server. Test your setup with a simple PHP file and database connection first, then add frameworks or CMS tools as your project grows. Extract and Play does not apply here, but the same rule does: keep the setup clean, test each component, and you will face no crash issues during normal local development.

Comments (0)
No comments yet. Be the first to start the discussion!